Step 1 – Lighting Your First LED
🔹 Introduction
Every journey into electronics starts with a simple experiment: lighting up an LED. This is the simplest possible circuit, but it already teaches two essential things:
- how a power source works,
- why a current-limiting resistor is necessary.
🔹 What is an LED?
LED stands for a light-emitting diode.
- It has polarity: the longer leg is the anode (+), the shorter one is the cathode (–).
- It requires a limited current (typically 10–20 mA).
- Forward voltage depends on color: red LEDs ~2 V, green/blue LEDs ~3 V.
🔹 Components Used
- 2 × AA batteries (1.5 V each) → total ~3 V.
- Battery holder.
- 1 × LED (for example, red).
- 1 × resistor around 220 Ω (values between 150–330 Ω work fine).
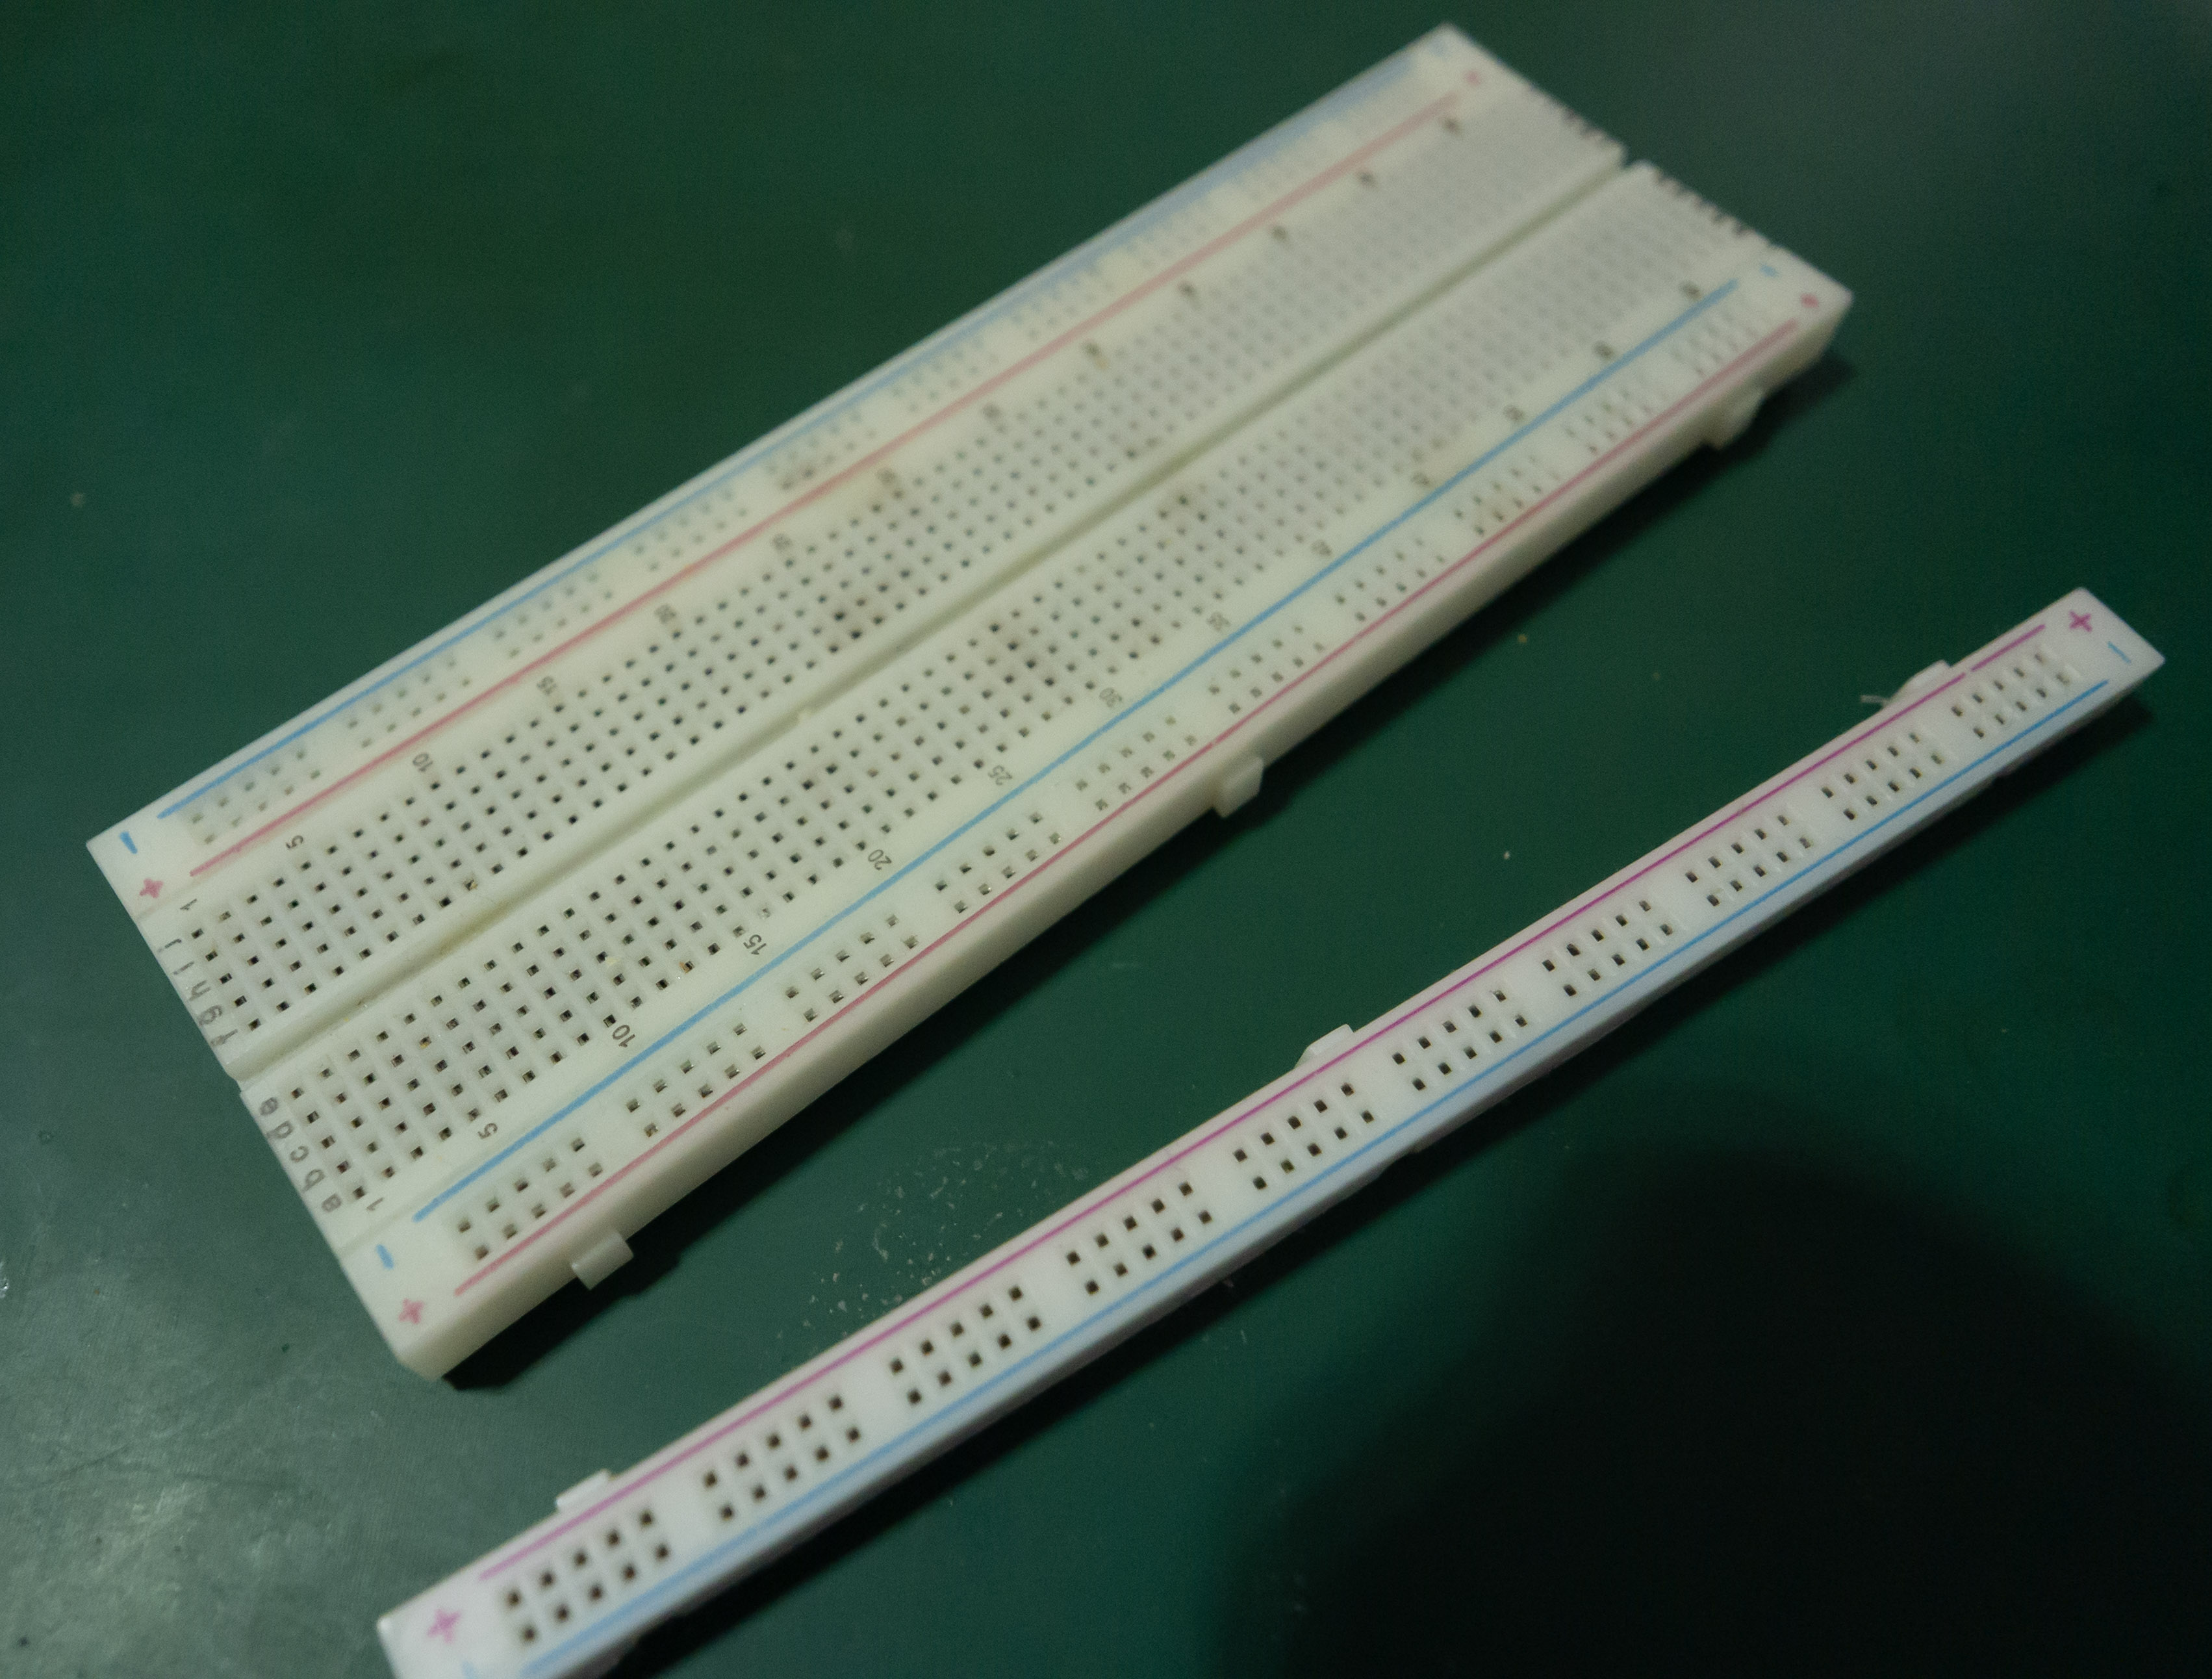
- Breadboard (solderless prototyping board).
- Ready-made jumper wires.
💡 Recommendation: Use a breadboard with detachable power rails — you can connect multiple boards together and stick them down. Also, pre-made jumper wires make connections easier and neater.
🔹 Circuit Schematic

🔹 Step by Step
- Insert the batteries into the holder.
- Connect the holder to the breadboard power rails.
- Place the resistor in series with the positive line.
- Insert the LED: anode connects to the resistor, cathode to ground.
- The LED lights up — first success 🎉
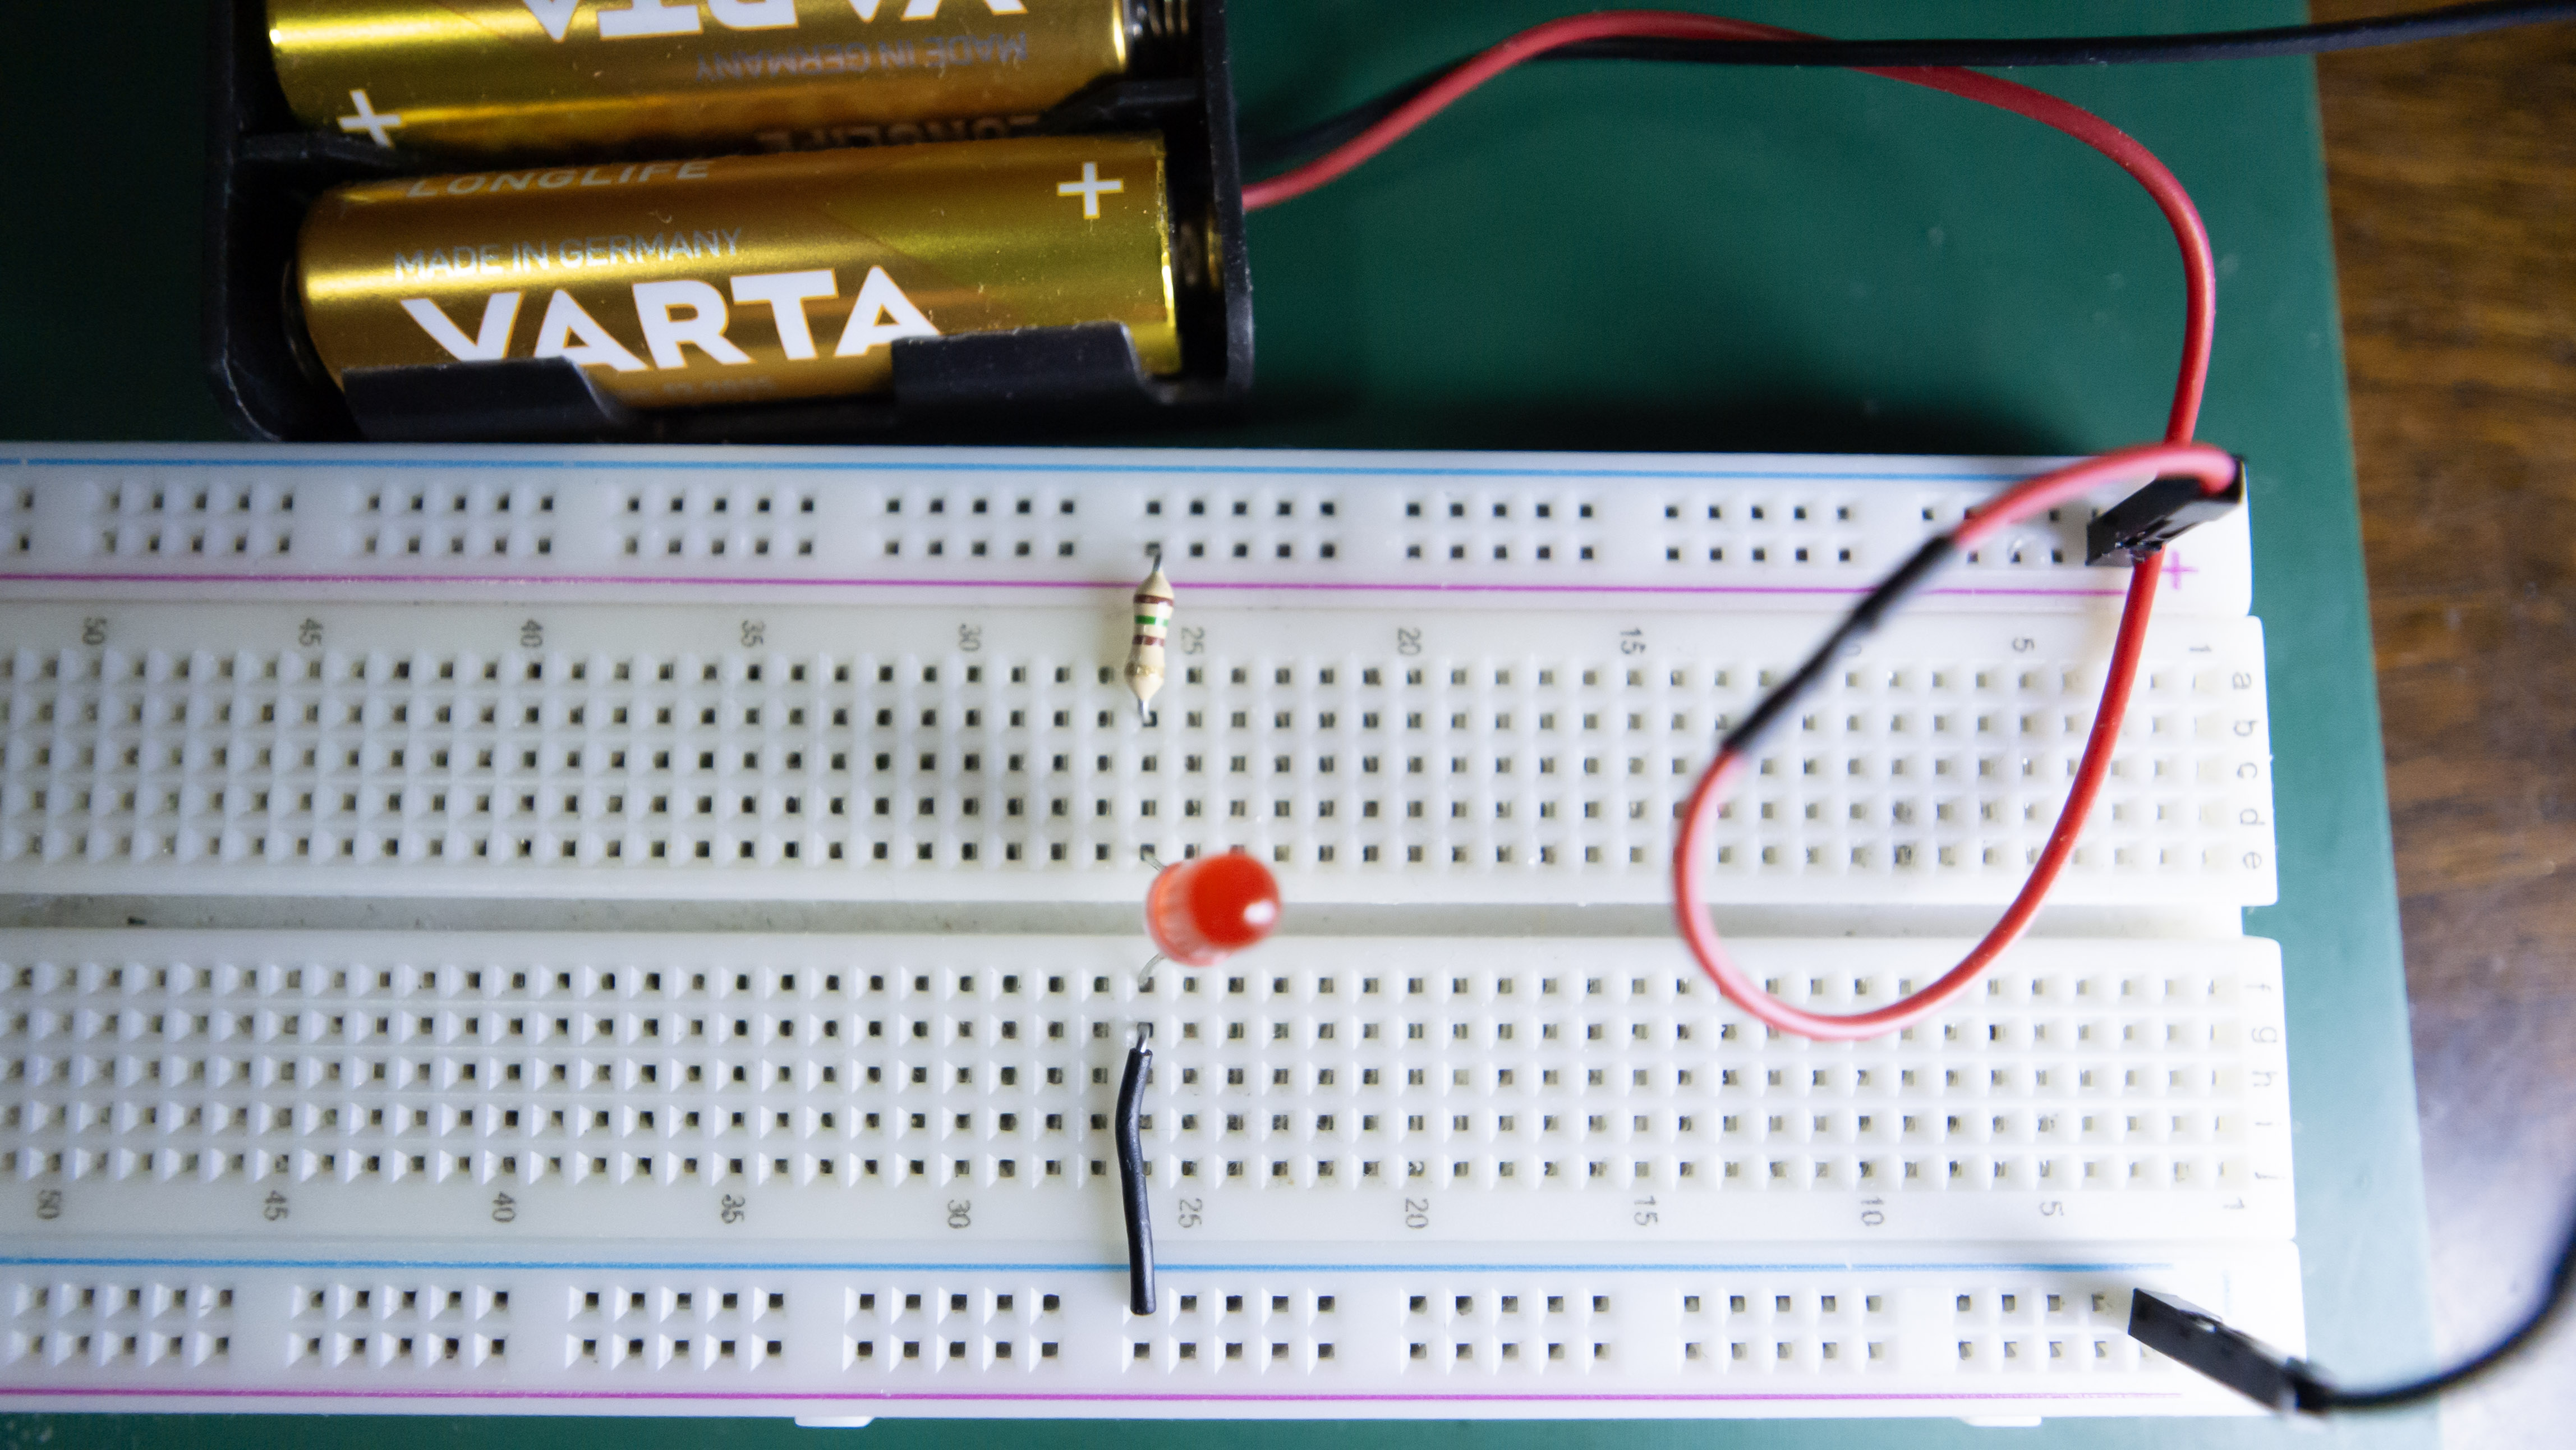
💡 ⚠️ Disclaimer: The LED in the photo is not glowing because it has been inserted in reverse.
This was done intentionally to give you a clearer view of the placement and wiring.
When connected correctly, the LED will light up — but showing it off here would interfere with visibility of the circuit.
🔹 Why the Resistor is Necessary
Without a resistor, the LED would try to draw too much current and burn out. The resistor limits the current according to Ohm’s Law:
I = (Usupply − ULED) / R
With 3 V supply, 2 V drop on a red LED, and a 220 Ω resistor:
I = (3 V − 2 V) / 220 Ω ≈ 4.5 mA
That’s a safe operating current.
🔹 Summary
- LEDs only conduct in one direction — they must be oriented correctly.
- A series resistor protects the LED from excessive current.
- The breadboard allows easy, solderless circuit building.
- This is the most basic circuit — the foundation for all later projects.
👉 Next step: add a switch to control when the LED turns on and off.